Tuesday, May 9, 2023

New Fireplace Hearth

After much research, idle time spent thinking, and planning, the fireplace hearth is, finally, complete!

The original goal was to have the entire facade of the fireplace updated to a style common in many Arts and Crafts bungalows. While the fireplace is originally brick, in the past (guessing the '90's), someone decided it would look better with a thin skimcoat of mortar applied and painted. I assume this was done to mimic a more Mediterranean style. Unfortunately, it would have been impossible to restore the facade back to its original condition without damaging almost all of the brick. But, I abhor how it looked.

Originally, I was in communication with an individual in Pasadena, California who specializes in creating Arts and Crafts fireplaces. She create the design, custom makes every tile, as well as, glazes and fires every tile. An interesting thing was she had possession of original tile casts from Ernest Batchelder, who was one of the leaders in the early 20th century Arts & Crafts movement. Originally, I started back in early 2020, but then the world got interesting and I delayed the project since I wouldn't have been able to travel to work through the process. So, I put this project to the side to work on other things around the house.

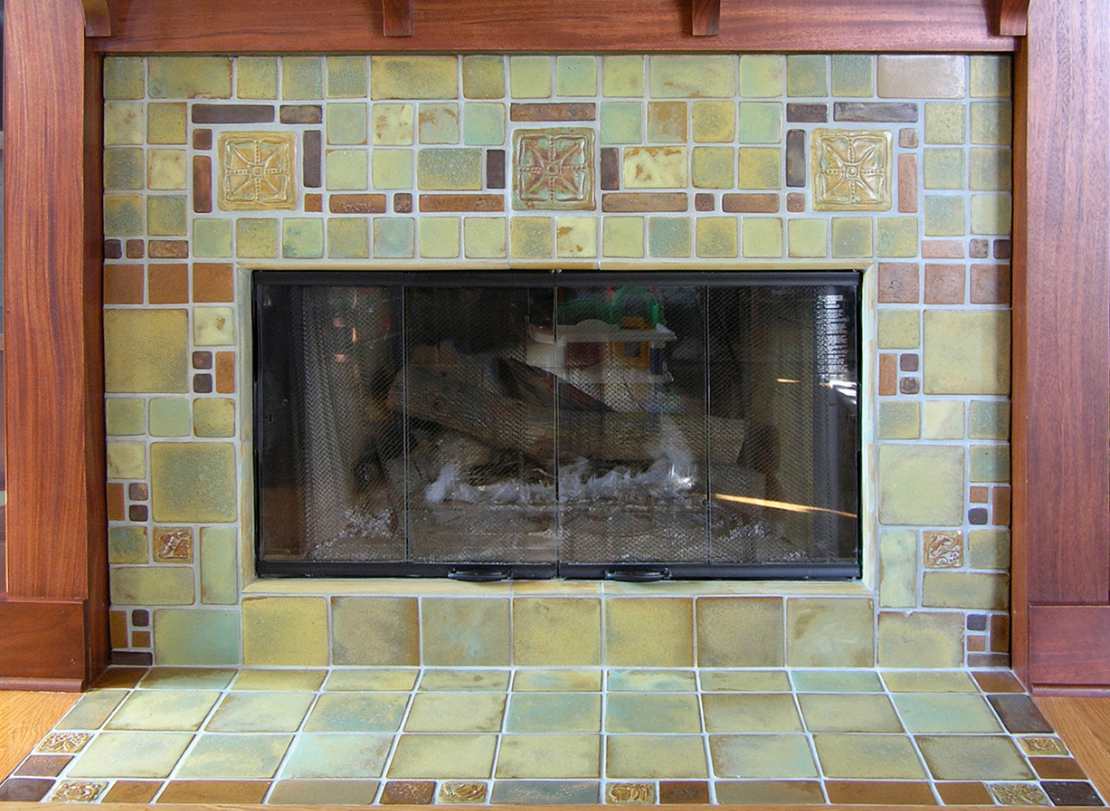
Example from Pasadena Craftsman Tile

The main reason for updating the fireplace is due to the deep history within our own neighborhood of Van Briggle fireplaces. There are dozens and dozens of homes in our area containing the coveted work of his local early 1900's kiln, which is less than a mile from our home. While it is impossible to have a Van Briggle fireplace in our home, I could have one created using the identical process.

However,... after a lot of thought and an epiphany I had one evening, I decided to not create an entire tiled fireplace. I opted, instead, to replace only the hearth using the same style and methods.  I came to the conclusion that having an entirely tiled fireplace would have been slightly overwhelming from a visual standpoint in our quaint house. I found a company called Motawi Tileworks, located in Ann Arbor, Michigan. They have the same traditional processes, albeit they are a larger, but still small production company.  The tiles are all individually handmade on site. I had two bunny rabbit tile made, which are hand carved in clay before being fired in their kiln. This was something I decided on, since my Wife is fond of rabbits and has a childhood story related to them.

I created eight different designs using their available tile sizes.  It was a very tedious process as I had a specific total dimension I was working with and had to, essentially, solve a puzzle using the multitude of tile molds they had available.  After, having my Wife review the designs, we settled on one that made the most sense visually. After submitting my design to Motawi, they responded that they had just decommissioned several of the tile sizes I needed for my design, due to lack of demand.  After some discussion with them, they agreed to use the old casts in order to support the design. Whew!  Their design team reviewed and approved my submittal and an order was placed in late December with an expected ship date of late April.

Final Design

I'll skip the details of the tedious prep work, including removing the old Saltillo tile and trimwork, as well as, manually removing four layers of old paint, I had to do before installation. But, I installed the tile over this past weekend and couldn't be happier.  It was refreshing not having to cut a single tile, since they were all custom sized for my hearth. Another project complete!

Original hearth after removing the old tile and trimwork


Hand-carved Bunny!


Sunday, July 17, 2022

Landscaping Bliss

 I made a little more progress on the backyard landscape with the addition of some ornamental grass and penstemon.  The existing flowers I planted last year are really coming into their own: lavender, daylilies, rudbeckia, threadleaf coreopsis rosea, and meadow sage.  I expect to complete all the backyard by Fall, hopefully...


Backyard before

Backyard after


Monday, May 16, 2022

A Piece of the Past

 The second Summer (2020) in our home, my Wife and I began removing very old Spirea bushes along our backyard fence.  Tucked in the corner behind the bushes was a wooden box, completely out of sight. After further inspection, I figured out it was an old planter box.  It was in fairly good condition for it's age, but definitely in need of some repair.  I thought that, one day, I could bring it back to life. I carried it to the shed and set it inside against the wall where it would remain until about a month ago. I was certain it was from a bygone era and was probably built by Henry Zirkel, himself, considering he was a carpenter by trade.

Since I haven't had much on my active to-do list, lately, I decided to begin a project to bring the planter box back to life.  I had noticed it was, originally, a dusty, brick red, based on just a small patch of paint still remaining on the very weathered box.

Before sanding but after tightening up the joints

A hint of past color on the left side

I spent more time than probably necessary tightening up loose joints, sanding, filling in the major holes and gaps, sanding again, priming, painting, and adding a coat of urethane. I didn't want to make it look new, but, instead, thought it would be appropriate to keep some of the aged character that had occurred over the years.

Finished with holes drilled for drainage

This past Friday, I visited a local nursery and purchased some Violas and Gazania. Now, the planter sits proudly on the railing of our front porch. It it satisfying to have rejuvenated a piece of the house history, instead of just mindlessly throwing out on trash day.

Done!


Sunday, July 4, 2021

Timeless Fence

Or, at least, I'd like to believe so...  A white picket fence for a nearly 100 year old house is fitting.  Last September, the old picket fence was removed to make way for extensive concrete work to be completed.  Due to the lateness in the season and a quick onset of cold weather, I delayed building the new fence until this Spring.

Lumber, specifically the posts and stringers, was purchased and allowed to dry.  Once there was high confidence there wouldn't be any more hard freezes, the sprinkler system was turned back on only to discover a leak under the driveway (I had my suspicions when they repaired it while pouring concrete). The leak was in close proximity to where the gate post would be set, so I'm thankful I kept a watchful eye on this possible issue before beginning.

It took several weeks before I could get the irrigation company to reroute the damaged line, which meant a setback in starting the project.  An uncommon rainy Spring resulted in even more delays.  But, thankfully, I was, eventually, able to begin.

The fence is one hundred percent Western Red Cedar with all fasteners (aka screws) made of stainless steel.  Since Western Red Cedar has natural tannins in the wood, it is important to use fasteners that will not corrode or rust.  There was a lot of thought that went into selecting the picket style and I chose, with input with my Wife, to go for something simple and befitting of the simple nature of the house.  The gate handle and latch  is the same style that would have been used for the era of the house and is almost identical with what was on the picket fence that I absent mindedly let leave the lot last September.

I hand primed every piece of wood twice and sanded everything before assembling the pieces. Then, a solid coat of acrylic latex paint to finish it off.  I know I drove my Wife nuts with all the meticulous measuring, thought, and detail I put into the fence.  I'm certain she's happy I won't be talking about it, ad nauseum, in the future.

Another project complete!


Hand Cast by "Coastal Bronze"

Latch with gate stop

Important for the "non-public" side to look as good as the front side


Thursday, June 24, 2021

Another Project Done!

 After, almost 3 months of waiting after the initial quote, the new garage door has been installed!  The goal was to tie the garage door style with the front door, which is solid, straight-grain Douglas Fir.  The one caveat--I was not going to has a solid wood garage door installed due to fear of longevity.  Instead, it's a steel, 3-section door (every other garage door I've seen is 4-section) that is fully insulated and has frosted glass to curb curious souls.  From a distance, the door looks like wood. In fact, you'd have to touch it to realize it's a constructed of metal.

Before

Finished!


Hopefully, by the end of this weekend, I'll have another outdoor project completed, weather permitting...


Thursday, May 20, 2021

Spring is Finally Here!

 After many false starts, it seems Spring is, finally, here!  A year ago, I published this post about discovering some tulips on the side of the porch.  I dug up the bulbs late last Summer and stored them until replanting them in the late Fall.  In all, there were about a dozen bulbs.

After a slow start this past month, they have all, finally, bloomed!  Five red, 4 salmon pink, and one lone yellow. This was my first experience planting tulip bulbs and I'm relieved they all bloomed, considering I saw only half of these (the red ones) bloom a year ago.


Now that the colder nights are behind us, I'll begin on several house projects: 
  • building a new picket fence between the house and garage
  • updating two outdoor outlets to the latest electrical code
    • weather resistant, tamper proof, GFCI, ultra-duty outlet covers
  • installing water table boards around the perimeter of the garage
  • replace the front gable fascia boards on the garage
  • make minor exterior repairs in preparation for house painting
  • repair minor cosmetic cracks on the above grade foundation wall
  • landscaping the back yard patio area
This should keep me busy for several weeks, but the longer days will definitely help.


Wednesday, January 27, 2021

Hardscaping

Still getting caught up with the progress that has occurred. Late, last Summer, we had four companies provide bids to remove and replace our entrance sidewalk, driveway, garage floor, and back yard patio/sidewalks.  It was a large undertaking, hence, the reason for getting many quotes.  Interestingly, all estimates were within 20%, although each had their own specifications of the method of completing the work (i.e. concrete compression strength, reinforcement methods, drainage considerations).  In the end, we chose a company that was family owned with over 30 years of experience.  The owner would be on-site the entire time and all the workers were full-time employees.

The original driveway was a traditional ribbon driveway.  While I'm not certain when the driveway was poured, I know for certain the concrete directly in front of the garage was poured in 1937 (there were still faint initials "WW" and the year etched into the concrete).  Additionally, the garage floor was in very bad shape with major cracks.  That floor would be replaced, as well.  Essentially, every inch of existing concrete, sans the city sidewalk, which is fairly new, was replaced.  It took 7 days to complete the work after an initial start delay, due to an early September snow (see "Before" pic below).  

Before

After

I won't show all the boring in-progress photos, but the end work is amazing and an absolute pleasure to use. Since my work office is in the front of our home, almost every day, I witness people walking by who stop to admire the work. Maybe, it's because there aren't many homes in the neighborhood with this amount of concrete work. The next step will be sealing the driveway and garage floor, once the temperatures are more favorable.  On to the next project!